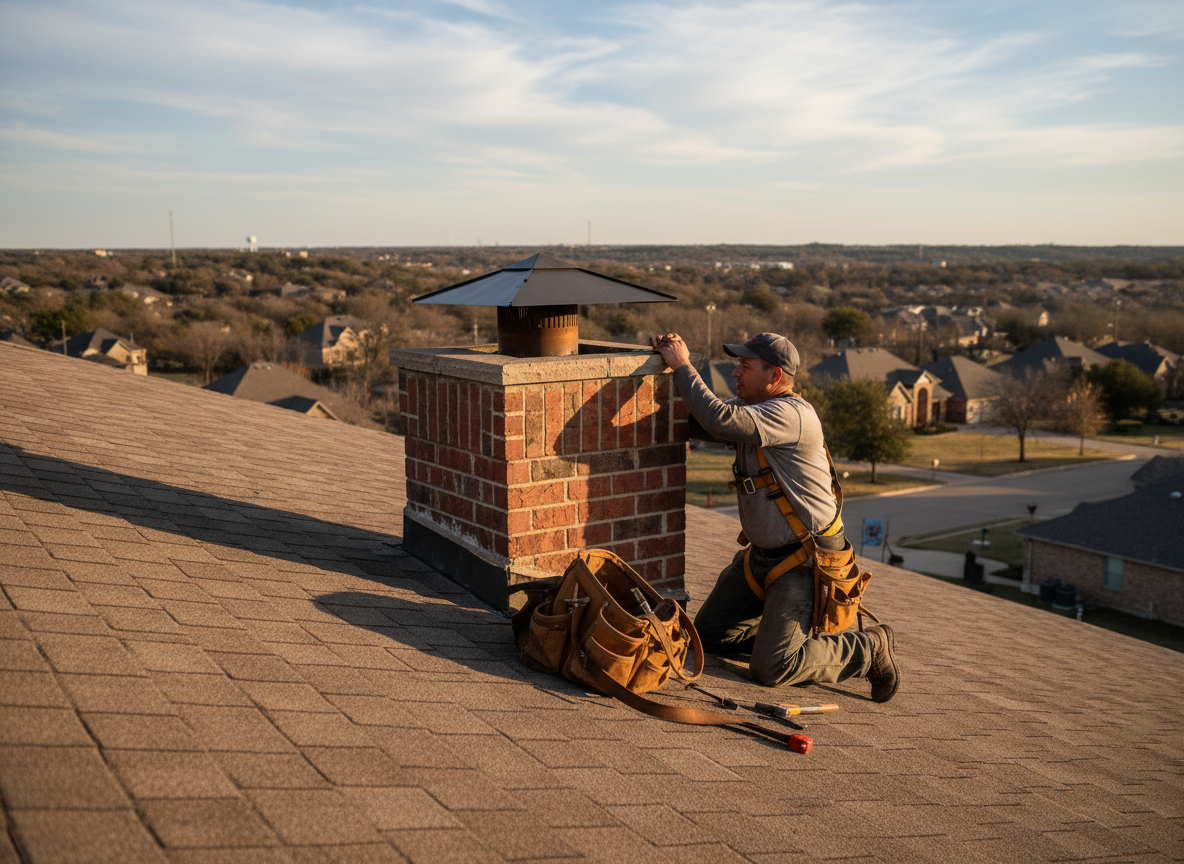
Benbrook homes, especially those built before 1990 in neighborhoods like Ridglea Hills and along Camp Bowie West, often feature masonry chimneys with original metal caps that corrode quickly from repeated freeze-thaw cycles and spring thunderstorms. When caps fail, water enters the flue, saturates the crown, and eventually stains ceilings or damages firebox liners. Servanta Edge technicians start every job with a top-down inspection that checks flashing, crown integrity, and spark arrestor condition before any repair begins.
High winds common across the open terrain west of Fort Worth frequently twist or lift caps that were never properly anchored to the flue tile. Standard galvanized replacements last only a few seasons here; we use stainless steel or copper caps with extended flanges and stainless screws set into the brick or tile. This approach prevents future uplift without altering the chimney’s draft performance or violating local building setbacks near the property lines common in Benbrook subdivisions.
Repair work must also account for the clay soil movement that shifts foundations slightly each year, creating small gaps at the cap-to-flue joint. We seal these with high-temperature refractory caulk rated for Texas temperature swings rather than standard silicone, which cracks after one summer. Every completed cap repair includes a final smoke test from inside the home to confirm proper draft before we leave the site.
Technician insight
In Benbrook the thing that catches most people out with chimney cap repair is the steady west wind across the open lots that works loose the original sheet-metal caps on 1970s and 1980s brick chimneys. Homeowners notice the problem only after spring rains send water down the flue and into the living room; catching it early means we can often reuse the existing crown instead of rebuilding it.
Rusted Cap on 1982 Chimney
A homeowner near 7901 Camp Bowie W Blvd reported water stains above the fireplace after heavy rain. Inspection showed the original galvanized cap had rusted through and shifted in the wind. We removed the damaged cap, cleaned the flue collar, and installed a stainless replacement with new anchors. Draft tested clear and no further leaks occurred during the next storm.
How it works
- 1
On-Site Inspection
We climb to the roof and examine the existing cap, crown, flashing, and flue condition while checking for water staining inside the attic.
- 2
Damage Assessment
Technicians document rust, missing screws, or warped metal and explain whether repair or full replacement is required for the specific cap style.
- 3
Cap Removal and Preparation
Old fasteners and sealant are removed, the flue top is cleaned, and any crown cracks are addressed before the new cap is fitted.
- 4
Installation and Testing
A new stainless cap is secured with corrosion-resistant hardware, sealed at the joint, and tested for draft and stability.
Pricing
Upfront quotes after inspection; cost varies by cap material, height, and any crown repairs needed.