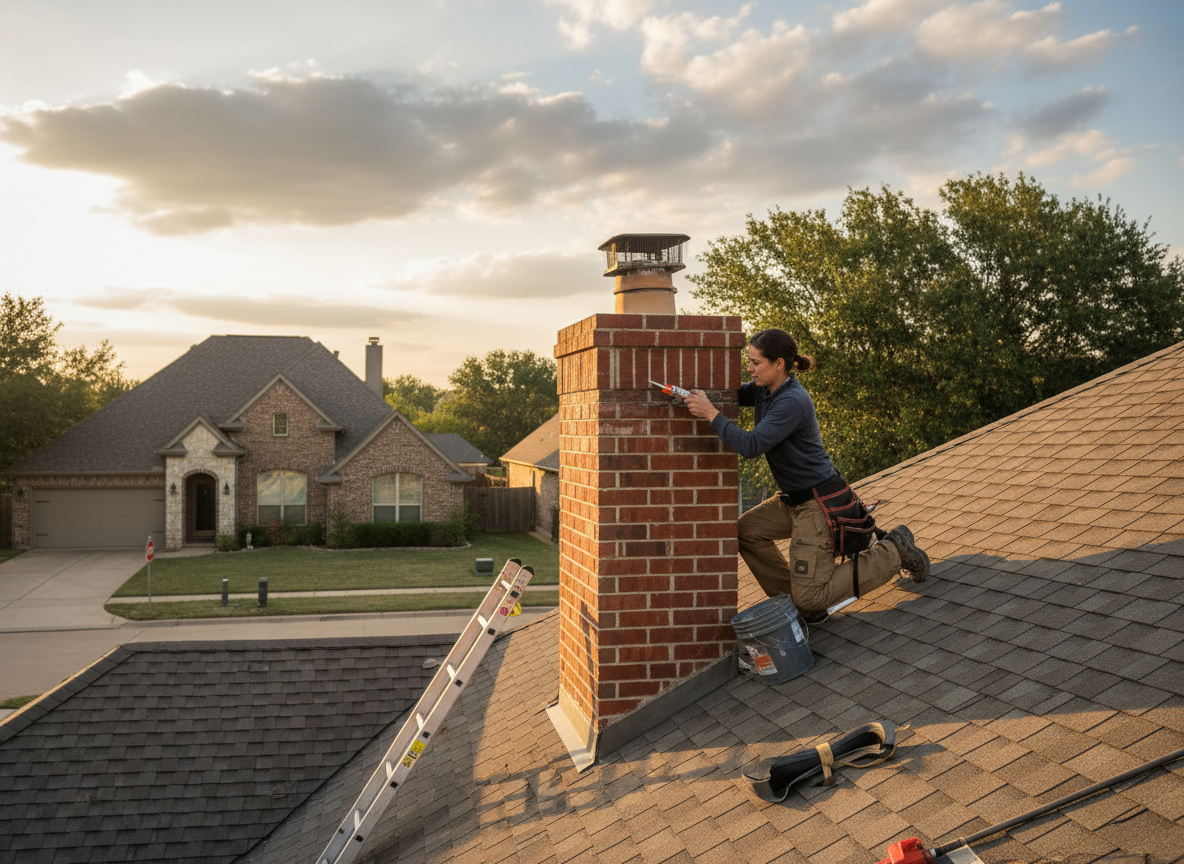
Chimney leaks in Benbrook often trace to cracked crowns and deteriorated flashing on homes built from the 1960s onward in neighborhoods west of Camp Bowie. Heavy spring rains combined with occasional freeze-thaw cycles push water behind brick and into the attic. Standard caulk patches fail quickly here because they cannot handle the thermal movement of masonry chimneys tied to older slab foundations. Proper repair starts with removing loose mortar, installing new stainless steel flashing that ties into the existing roof underlayment, and recasting the crown with a slope that sheds water away from the flue tile.
Edge cases appear when leaks travel down the clay flue liner and stain ceilings two stories below. In those situations we pull the rain cap, inspect the liner with a camera, and install a stainless steel insert only after confirming the chase is clear of debris. Tarrant County homes near Lake Benbrook see extra wind-driven rain on the north and west faces, so we pay special attention to step flashing and counter flashing where the chimney meets the roof plane. Skipping the cricket on wider chimneys is a common shortcut that leads to recurring leaks within two seasons.
Homeowners sometimes confuse chimney leaks with roof leaks because water appears near the ceiling line. We always trace the actual path from the crown down before opening the roof deck. When the leak originates at the crown-to-flue joint we remove the old mortar, install a new precast or cast-in-place crown with an integral drip edge, and seal the flue collar with high-temperature silicone rated for 500 degrees. This approach lasts longer than surface patches in the variable Texas climate.
Technician insight
In Benbrook, the thing that catches most people out with chimney leak repair is the way clay soils around older homes shift during wet winters, pulling the chimney base slightly and opening gaps at the flashing line that only show up after a hard rain from the west.
Persistent Leak on a Benbrook Split-Level
Water stains appeared on the family-room ceiling after three days of steady rain. Inspection showed cracked crown mortar and lifted step flashing on the west side where wind drives water under the shingles. We removed the old crown, installed new stainless flashing tied six inches under the roof deck, and recast the crown with an integral slope. The homeowner reported no further stains after the next storm cycle.
How it works
- 1
Site Inspection
We examine the crown, flashing, and interior chase from the roof and attic to locate every entry point.
- 2
Material Removal
Old mortar, damaged flashing, and failed sealant are cut out without disturbing sound masonry.
- 3
Flashing and Crown Work
New step flashing, counter flashing, and a sloped crown are installed to direct water away from the structure.
- 4
Final Test and Cleanup
A water test confirms the repair before debris is removed and the site is left clean.
Pricing
Upfront quote provided after on-site inspection; cost varies with chimney height, roof pitch, and extent of water damage.