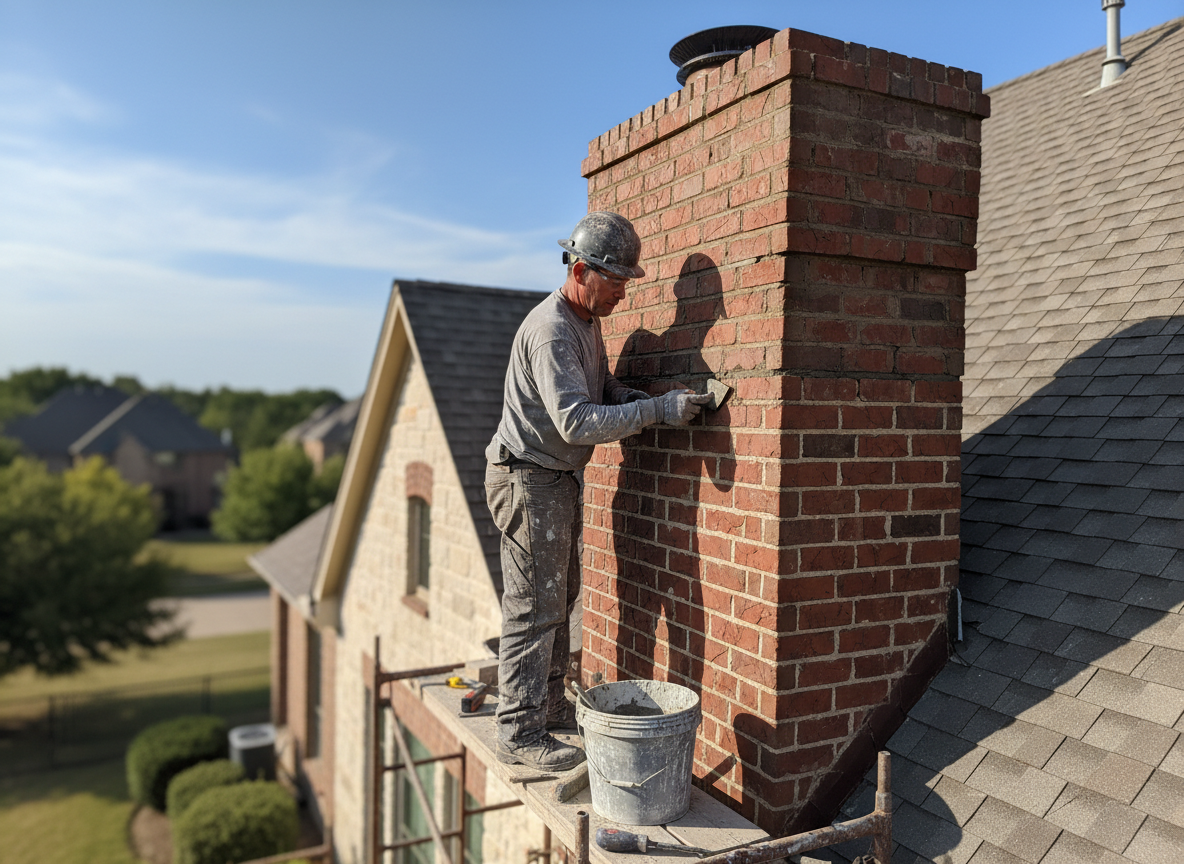
Chimney mortar joints in Benbrook homes take constant hits from temperature swings and occasional hard freezes that push moisture into the brick. Over time the mortar shrinks, cracks, and lets water reach the flue liner or wood framing behind it. We cut out the failed material to sound depth, clean the joint, and tuck-point with a Type N or S mortar matched to the original mix so the new work weathers at the same rate as the surrounding brick.
Many chimneys along Camp Bowie West and in the older sections of Benbrook were built with soft lime mortar that does not tolerate modern hard Portland mixes. Using the wrong mortar creates new stress cracks within a season. We test a small area first, match the color and texture, and tool the joints to shed water away from the face of the brick rather than letting it pool on the ledge.
Access on single-story ranch homes common in the area is straightforward, but two-story and steeply pitched roofs require proper staging and fall protection. We also check for crown cracks and missing flashing while we are on the roof, because water entering at the top often travels down and exits through the mortar joints we are repairing.
After the new mortar cures we run a smoke test to confirm the flue is clear and draft is correct. Homeowners receive photos of the before-and-after joint condition and a simple maintenance note on how often to inspect for new hairline cracks after heavy rain.
Technician insight
In Benbrook the thing that catches most people out with chimney mortar repair is the soft lime mortar in 1960s-1970s brick homes along the west side of town. A quick patch with modern hard mix looks fine for a year then spalls the brick because the new material does not flex with the old during our summer-to-winter swings.
West Benbrook Two-Story Repair
Homeowner noticed white powder on the family-room mantel after a wet spring. We found open joints on the north face where the original mortar had eroded. We cut out three linear feet of joint, repointed with a lime-based mix, and confirmed no water was reaching the liner. The staining stopped after the next rain.
How it works
- 1
Inspection and Diagnosis
We examine every accessible joint from ground and roof level, note failed areas, and check for water staining inside the attic.
- 2
Joint Preparation
Old mortar is raked out to 3/4 inch depth or until sound material is reached, then the joint is brushed and blown clean of dust.
- 3
Mortar Mixing and Application
We mix a compatible mortar on site and pack it into the joints in layers, tooling each lift to a concave profile that sheds water.
- 4
Curing and Final Check
The repair is kept damp for 48 hours when possible, then we perform a smoke test and walk the homeowner through the completed work.
Pricing
Cost depends on linear feet of repair, roof pitch, and whether staging is required.